About Me

My photo
I am a daughter of the King of kings, bookworm, organized, fangirl, writer, smashbooker, and photographer. I love to make and preserve memories!

Tuesday 26 August 2014

Headphone Wrap and mp3 player


Headphone wrapping and my MP3 player 

How I store it:
In an altoids tin. It fits perfect and keeps it nice, safe,  and dry.


Then I wrapped my headphones with embroidery floss. It keeps them untangled and looking cute!
 
To make this you'll need:
  • embroidery floss (twice the length of the headphones you are wrapping) in multiple colors (the more you have the thicker the wrapping will be (and less tangled) and the more often you'll change colors. (unless you repeat a color) I had 5 different colors.
  • OR Yarn (this is thicker but less durable)
  • headphones
  • a clipboard (optional but helpful)
 
1. Start by knotting the embroidery floss (all of it) onto the bottom of the headphones (where the plug in spot is) If you choose to do so, put it on the clipboard with the ear-buds facing down and falling off the edge of the clipboard
 
2. Make a four shape (4) by taking one of the strands (or two of the same color depending on your preference) and making the four shape over top of the headphones and rest of the embroidery floss.
 
3. This part is the tricky part: Take the end of the folded over piece (the single strand) and thread it through the bend of the four (so you'll end up going under the headphones and rest of the embroidery floss but over the original four)
 
4. Now you have successfully made one knot! Repeat 10 times or until you think it is long enough. The knots will start to go around the headphone, which is fine. (which is why this is sometimes called the snake on a pole) If you want them to go around more often, twist the headphone bottom periodically- the more often the more wrapped around it will be)
 
 
If you run out of embroidery floss or yarn don't worry just knot some more on to the previous strand and keep working.
 
 
5. When you reach the end you can wrap the headphones or not and just knot it at the end. Cut the strands and glue in place. And you are finished!
 
I hope you liked this post! Please share on social media!
xoxo
Clare Lauren


Bottle Cap Magnets


Bottle Cap Magnets in 3 easy steps


What you'll need:
- bottle caps (the retro soda pop kind)
- an old magnetic notepad or magnet strips or magnet tape
- foam squares (the medium size- I once tried with small ones but they would fall off. Any size that fits your bottle cap just about right will work fine. See the photo below)
- scissors


1. Take your magnetic strip off of the old notepad.  Size it to the foam squares, then cut accordingly.

2. Put the foam squares into the bottle cap. I used two so that they came just out from the edge, but you can use more. Leave the top one with the sticky side up.


3. Put the cut magnet strip onto the sticky foam square. You may want to put extra glue on the magnet strip before attaching it to the bottle cap. If glue was used, let dry.

If you want a more retro look, scrape off the logo with a sharp knife and/or sandpaper.

And you are finished! Enjoy your finished product!


xoxo
Clare Lauren

Washi Tape Crafts


Washi Tape Crafts

I had mentioned before other washi tape crafts I have done in the past. Here I want to collect them and show them to you so you can make them too.

1. Light switches


2. Electrical outlets
 
3.Chargers
 
4. Paintings


5. Tic-tac box
(to make a holder for bobby pins)


Thanks for reading!
xoxo
Clare Lauren
 

Inside of my Lilly Pulitzer Agenda

Inside of my Lilly Pulitzer Agenda

I have been wanting to do a post like this for quite a while now so here it is:

My Lilly Agenda is called Lilly Lovers in Large (which is the perfect size- gives you enough space to actually write and not be crammed but not too large so it can still fit in your purse)
 
 Then I mark the weekly part weith a post-it durable sticky tab:


For the most part I use the monthly part to write down events, school, and to-dos. Here I have my to-dos section. I only use pencil because it erases if something changes. (call me a neat freak)  I have no color coding because for me that just gets hectic and hard to keep up with.
 
 If I don't know the date of something I'll put a super small post-it sticky in the to-dos column until I find out the date. Then I pencil it in so the post-it doesn't fall out (they don't usually but just in case)
 
 
In the front pocket I put in my Class Schedule for easy access:
 
To make one like this go to google images, find a bow shape you like and put it in word. Then find a color in word you like. (the one I used here is called Dusty Rose- one of my saved favorites) Then go to picture tools (by clicking the image) and recolor the same color as the font. (should be in recently used)

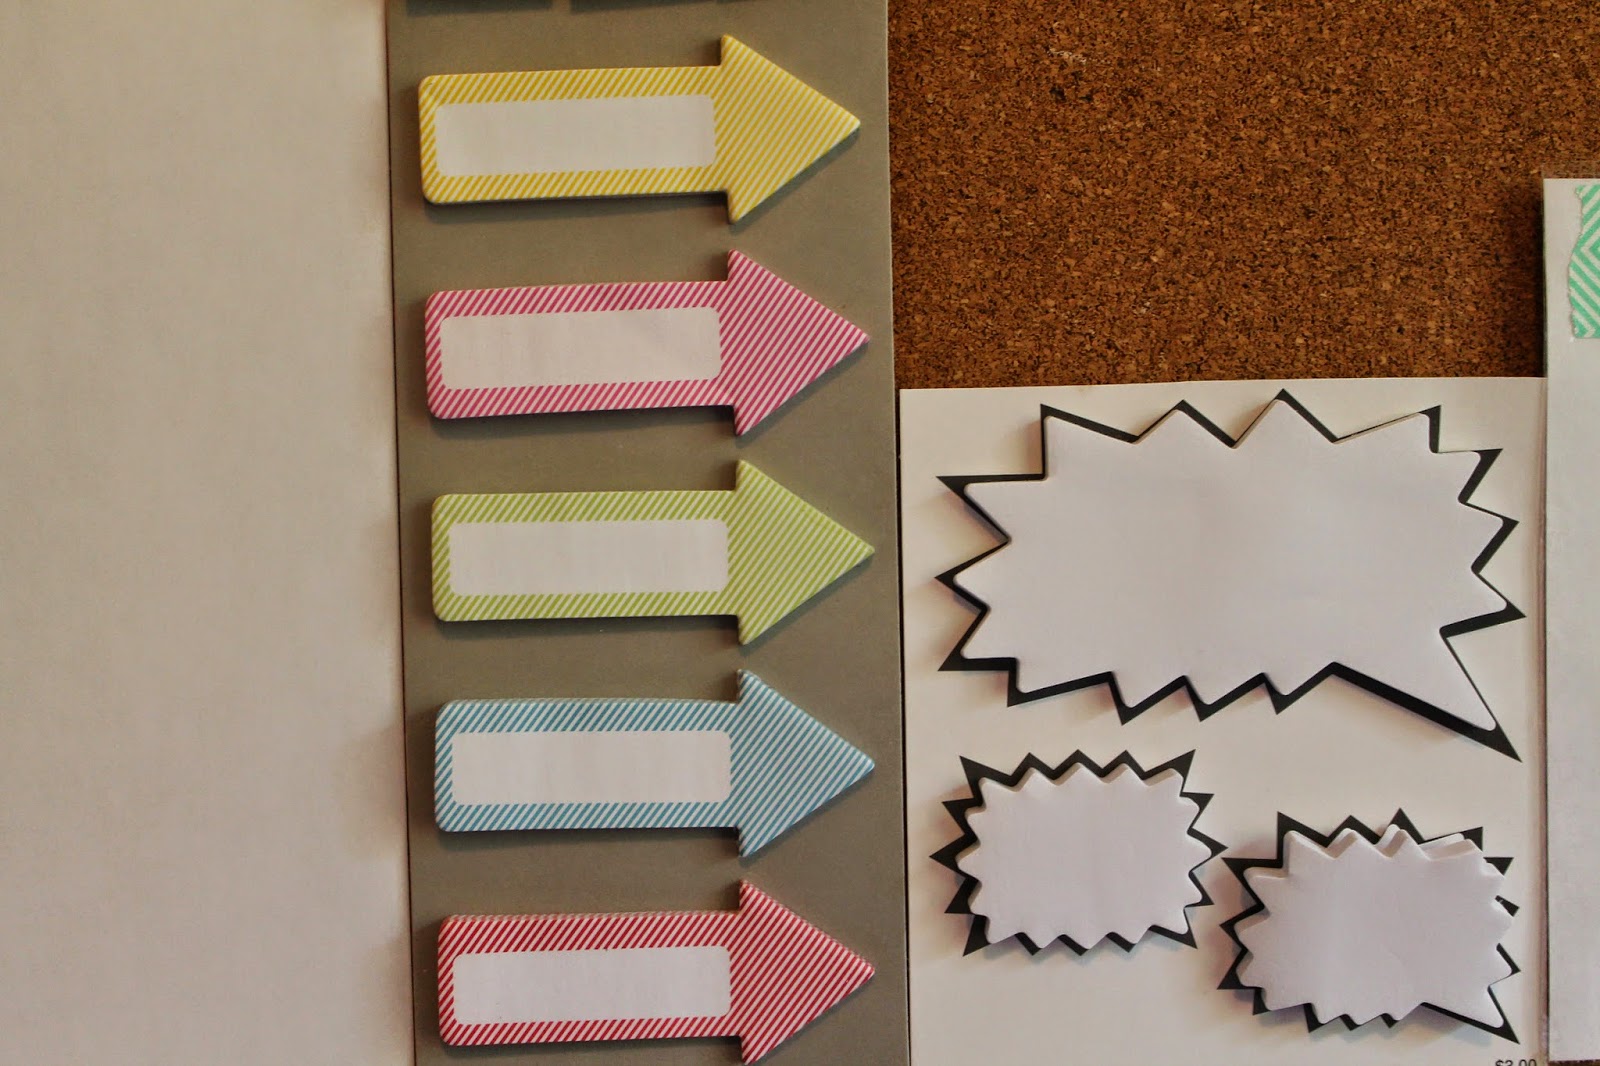
I also hold a little notepad, paper clips and sticky tape flags in the front pocket.

In the back I made my own pocket with washi tape. In it I have how I get my haircut picture, my wish list, gift ideas, etc.


I paper clipped my activity schedules to the back page after putting them all into my agenda.

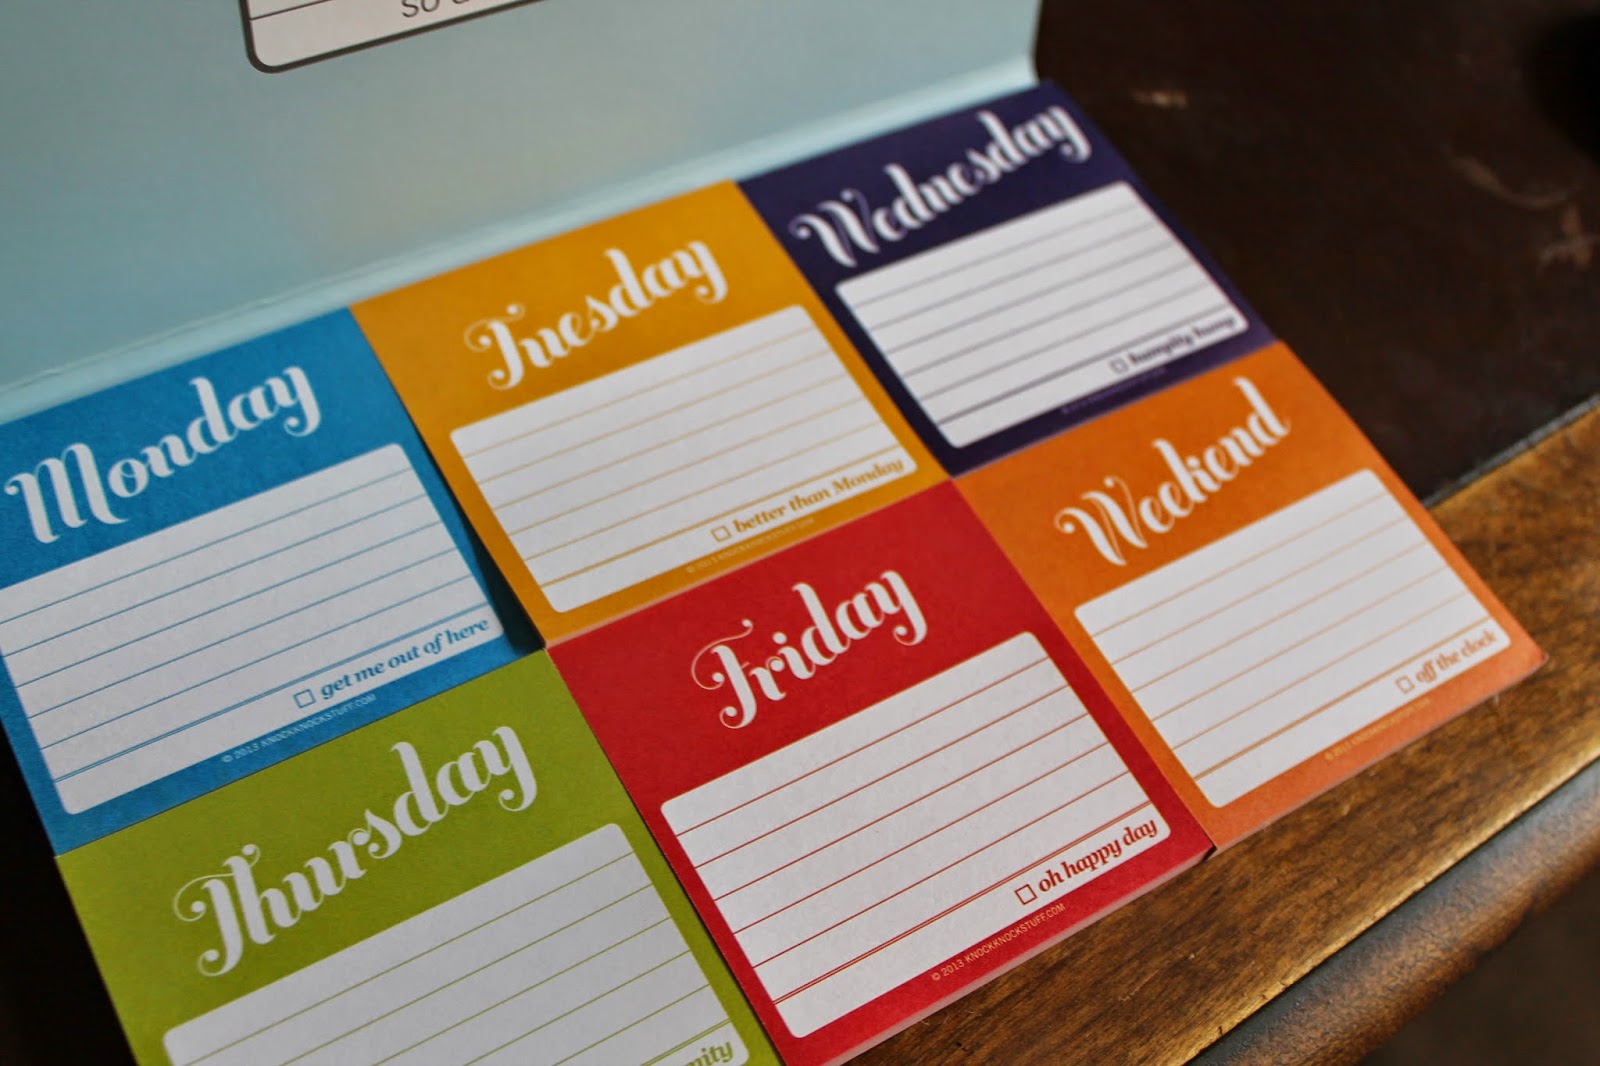
NAother thing I keep in my agenda are these weekly sticky notes:
I will put them on the cover or on other places to remind me of todays to-dos and future events/ due dates. They are life savers! (found at Barnes and Noble)

 
Lastly, I have stickers staples in. I know Lilly sells her own stickers but these are just some cheap ones pulled out of another calendar.
 
What do you put in your Lilly agenda? Comment below, please!
 
Thanks for reading!
xoxo
Clare Lauren


Grab-and-go worry free bag

Inside my On-the-go bag

One day I got a little makeup bag for my birthday and since I don't put on makeup after leaving the house, I had no idea what to do with it. I used it as a sunglass case until I saw a blog post on someone's purse. They had a removable pouch with pockets so that they could easily change purses. I thought of making this bag into something like that. Without further ado, here is my grab-and-go (with no more stress for the small emergencies) bag.


Inside of it there is:
  • a first aid kit (complete with tums, cough drops, sunscreen samples, bandage salve, bandages, and alcohol swabs)
  • Hand sanitizer
  • Mascara (the only makeup I bother re-applying)
  • Altoids mints (or some kind of gum)
  • A reusable shopping bag (used for all kinds of things)
  • Tissues
  • Lip balm
  • A mirror
  • Comb and hair tie


It all fits nicely inside!

 
I put this in my purse, glove compartment, backpack, and gym bag.
It's super nice to not have to carry all of these things in multiple different bags. It's also great for people who switch purses often.
 
Thanks for reading! Please comment if you liked this post or have suggestions for what you would put in your grab-and-go bag!
xoxo
Clare Lauren

Back to School Organization- Inside my backpack

Back to School Organization
What's in my backpack?

As the time for school starting draws near, I want to share with you the way I organize for school so hopefully you can benefit from it.

I want to share with you what is in my backpack this year.

First off, I believe (and am living testimony) that having better (and cuter) supplies can help you get stuff done and feel great! So the first thing in my backpack are adorable Lilly Pullizer binders!


I know some people think it is a little obsessive to have a binder for every subject, but I have found that it helps me keep it all together and in one place, even if that means carrying around a little more.

I may only end up carrying around a folder and notebook (1 per subject) and leaving my binders in my locker.

The next thing in my backpack are notebooks and  file folders.


See how to make washi tape crafts for school like the notebooks shown above here: http://thepreppyprincessdaughteroftheking.blogspot.com/2014/08/6-easy-washi-tape-crafts-you-can-do-for.html

I especially love the "Keep Calm and Study On" notebook. I use it to write down all of my assignments. And another reason I love it is because this is what is says on the back:
Throughout the year I write down all of my to-dos, notes, to buy, gifts, etc. in this handy notebook; It's called the OrganizeHer from Mead:

I think it works better than an agenda.

Another thing I have found incredibly helpful are these daily sticky notes:
I write to-do lists and events on them and can carry them around with me on a book, notebook, binder, etc.

I also carry a clipboard in my backpack because there are some places where you just need an extra keep-it-all-together writing space.


Now onto the real supplies. I have three pouches. These are super handy because that way I don't loose anything in the bottom of my backpack.
 
The first pouch is one I use a lot. It holds my two calculators, a dry highlighter (it's brilliant!) and pencils.


The next pouch holds all of my supplies including post-its, gum, binder clips, a large eraser, a flash drive, a ruler, square paper clips (super cute) and a double pencil sharpener.
 
In the third pouch I have colored pencils, highlighters, sharpies, and colored pens. All extremely helpful notetaking supplies are all in here.
 
In almost every book I have these handy and adorable animal magnetic bookmarkers. (which I found them at Barnes and Noble)

 
Also in my backpack, there is always a good book to read, hand sanitizer, eos lip balm, and sunglasses.


And outside of my backpack I have my lunch bag from Old Navy:
Complete with a matching hand sanitizer holder from Bath and Body Works. It looks like it was crocheted!

No matter where I go, I almost always carry a sweater, camelback water bottle, my agenda, (http://thepreppyprincessdaughteroftheking.blogspot.com/2014/08/inside-of-my-lilly-pulitzer-agenda.html) my never fail grab-and-go bag (http://thepreppyprincessdaughteroftheking.blogspot.com/2014/08/inside-my-on-go-bag-one-day-i-got.html), bath and body works mini hand lotion, bobby pins,http://thepreppyprincessdaughteroftheking.blogspot.com/2014/08/washi-tape-crafts.html)

headphones, my vera bradly wristlet wallet, and my headphones & mp3 player. (http://thepreppyprincessdaughteroftheking.blogspot.com/2014/08/headphone-wrap-and-mp3-player.html)


Last, here is a little craft you can do to make your backpack even better- bow zipper pulls! Easy to make and fun to use, just double-knot them on and use Elmer's Washable Glue. They come right off with some water and a q-tip. (Trust me, I already tried)
 

And it looks super cute!
Thanks for reading!
xoxo
Clare Lauren